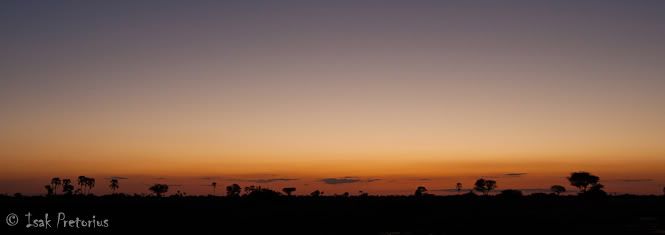
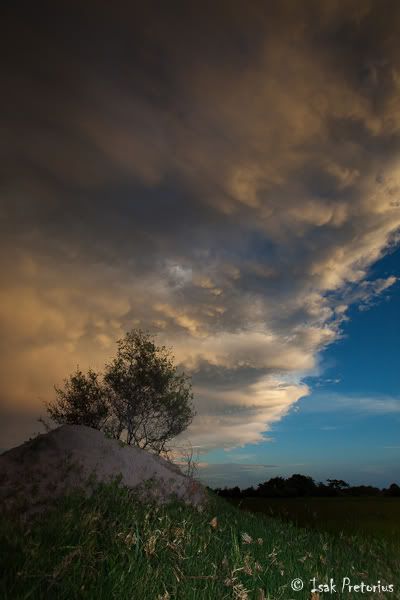
Hello and welcome to my blog where I share my photos and experiences from my travels to the African bush and other wild places.

Friday, October 1, 2010

RATING YOUR PHOTOGRAPHS

Finding your best photographs quickly and easily is essential for any serious photographer. This becomes increasingly important if you have a large photo library. In all the popular workflow packages that photographers use these days, the star rating system is the standard method to distinguish between exceptional, good and average photos in your library. It can be overwhelming and very time consuming to search through thousands of photos when you are looking for your best ones. The objective with star rating photos is thus to filter to a manageable number of photos for each star rating value, rated carefully through your personal well-defined process.


The physical process of star rating photos is relatively simple and can be done with ease in all the popular photo management software packages like Lightroom, Aperture, Bridge or Breezebrowser. In Lighroom, for example, I press the 1, 2, 3, 4, or 5 button on selected photos to rate them. To remove the rating I simply press the 0 key again. The biggest problem I have found with the star rating system when looking at our guests' rating process is when the standard for the different rating values are not well defined by the user, they end up getting confused about the rating value, and that results in many over and under rated photos.


I've come up with my own simple and effective star rating system which requires minimum effort but provides me with the search power that I require to find specific photos. If you tend to take a lot of photos then it becomes increasingly important to follow a process to quickly rate the best photos and eliminate the unusable photos. You can save yourself a lot of time if you never have to look at any unusable photos twice. The most important initial objective for me when downloading new photos is to rate them. I "develop" the photos much later in my workflow, when I have time, usually only when I need to submit photos somewhere or when I create a collection of photos.


My process works as follows: While I download my images into Lightroom, I start going through them one by one, judging their usability. Photos that are technically correct and properly exposed I mark as 1-star, and photos that are striking and worth another look I mark as 2-star. After I've gone through all the downloaded photos, I delete all the photos that have not been marked with any star values. At this stage I've optimized my effort by getting rid of the unusable photos, but also rating the striking photos as 2-star so that I have a manageable number of photos to search through when I want to see my best work.


The second step is to look through all my 2-star photos. Now I'm looking for striking images that are unique and that have "something special" about them. I mark those images as 3-star: they are typically the ones that I recon stand a good chance to do well in a competition for example. I would also make sure that I keep a maximum of three photos within a series of very similar photos.


The grading standard between 1, 2, and 3-star photos is thus very simple and straight forward, but if you have a large photo library you might still have too many 3-star photos to search through to find your best photos. Now we have to rate the best of the best. My next step is to look at all my 3-star photos within one-month timeframes and rate the best 3-star photo as a 4-star. Thus, within any year timeframe I could have more or less twelve 4-star photos for that year. The last step is to select the very best of the best by picking the best 4-star photo from a one-year timeframe and rate it as a 5-star photo. The 5-star photos are my very best photos, and after a career of photography I might only have a handful of 5-star photos. If someone wants to see my best photos I could show them the few 5-star photos, but also the larger collection of 4-star photos which have been carefully selected but that is small enough not to overwhelm the viewer.


My grading standard is:

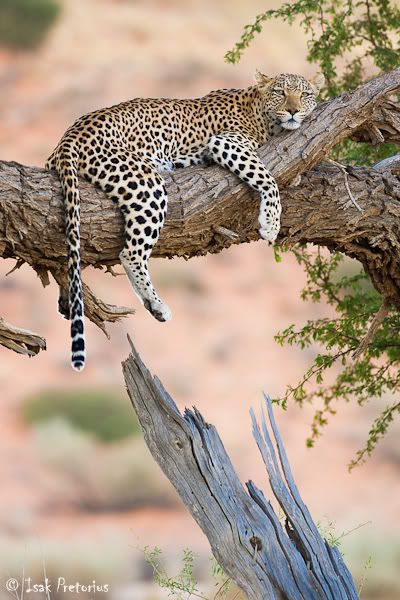
1-star: sharp, correctly exposed and usable
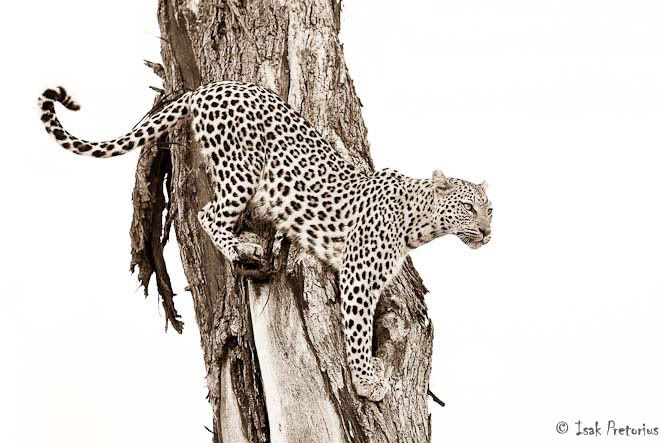
2-star: the same as 1-star, but it has something special about it, e.g. great light, action, behavior or a unique species
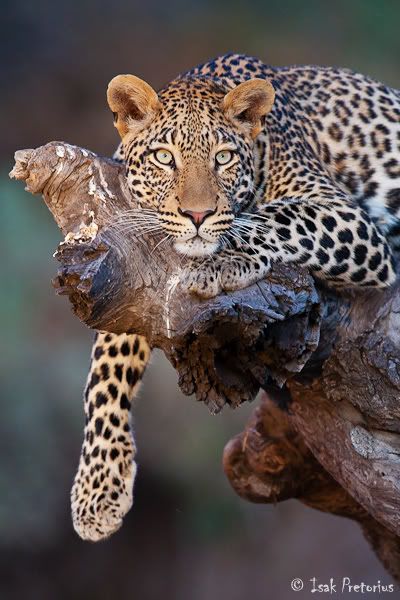
3-star: the same as 2-star, but the photo is unique and draws your attention
4-star: the best 3-star image within a 1-month timeframe
5-star: the best 4-star image within a 1-year timeframe
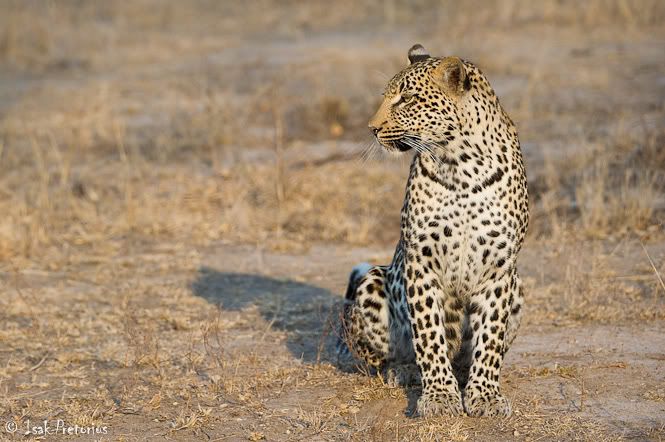

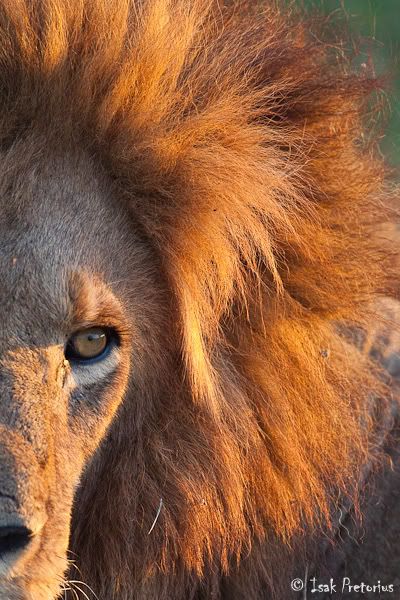
1 Star
Greater Kruger, South Africa
Nikon D3s | 270mm (200-400mm) | 1/800sec at f/5.6, ISO 400

2 Star
Kgalagadi Transfrontier Park, South Africa
Canon 1D Mark III | 300mm f/4 | 1/320sec at f/4, ISO 200

3 Star
Okavango Delta, Botswana
Canon 5D Mark II | 70-200mmf/2.8 | 1/1250 sec at f/5.6, ISO 400

4 Star
Mashatu Game Reserve, Botswana
Canon 5D Mark II | 600mmf/4 | 1/50 sec at f/7.1, ISO 1250


5 Star
Mashatu Game Reserve, Botswana
Canon 1D Mark III | 24-70mmf/2.8 | 1/160 sec at f/4.5, ISO 2500


Typically, if you've collected 50,000 usable photos over 12 years your star rating breakdown could be as follows:

1-star: 45,000 photos
2-star: 5,000 photos
3-star: 500 photos
4-star: 144 photos
5-star: 12 photos


Star rating photos adds a lot of value to my photography on many levels. It depends however on my decline to follow my process diligently, but I can now, with minimum effort, enjoy my photography so much more! I hope this blogpost will help you in formulating your own process to make the most of your photography!


- Isak

Thursday, April 22, 2010

IMPROVING YOUR BIRD PHOTOGRAPHY

The bird photographer is an interesting species. We can spend hours inside bird hides, next to dams, or in a car, patiently waiting for that perfect opportunity to come along. It’s the challenge that intrigues us, as well as the satisfaction combined with a sense of achievement when capturing the bird in that spectacular posture. It’s like a drug. If you’re new to bird photography or already a keen bird photographer, I’d like to share a bit of advice and a few tips in this post that might help you.

With the advances in digital photography, wildlife and bird photography has become accessible to most people. The current technology in DSLR (Digital Single Lens Reflex) cameras are so advanced that, to capture a standard portrait of a bird, sharp, and with the correct exposure requires no technical skill any more, unlike in the film and slide days. Unless the portrait is very striking, it is not an achievement and will look very ordinary compared to the images being produced today. This new technology opens up new possibilities, and raises the bar higher and higher for what we classify as good bird photographs today.

To produce a spectacular bird portrait you should aim to incorporate the rules of art and composition in your photograph. Always try to capture the bird doing something unique and interesting.

One of the most challenging genres of bird photography is birds in flight. It is also the most rewarding in my opinion. But, before you attempt to photograph birds in flight, make sure you have the right tools for the job!

Equipment required:

1) DSLR camera. When it comes to cameras there are many options in the market, and it can be overwhelming. As with most things in life, the more expensive it is, the better the quality. Just note that there are two types of cameras, those designed for action photography (which I would recommend) and those designed for portraits and landscapes. Don’t blow your entire budget on the camera, but consider these criteria when buying a camera aimed at bird photography (in sequence of importance):

a. Autofocus tracking speed – the speed at which it “grabs” focus and the ability to keep focus on a moving subject (also a function of a lens)
b. Shutter burst rate (frames per second)
c. High ISO performance – the ability to produce good quality images when shooting at high shutter speeds in low light.

2) Long lens. Good quality glass is probably the most important consideration in any type of photography. For bird photography you can never have enough focal length. Buy the best quality lens that you can afford. Anything from 300mm and longer will work well. Note that the speed and quality of any prime lens is much superior to that of a zoom lens. For example, the Canon 400F5.6 lens is less expensive than a Canon 100- 400F5.6 lens, and even with a teleconverter would focus faster and render better quality images than the 100-400F5.6 lens.

3) Tripod and head (fluid head or Wimberley head)

4) Beanbag and panning plate

5) Door bracket/mount


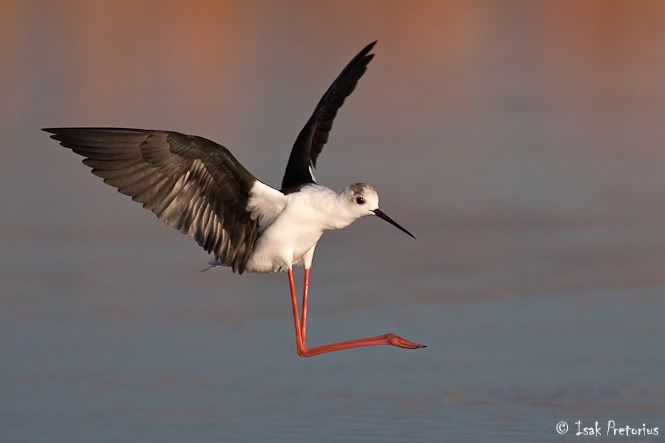
Black-winged stilt flyby
Marievale Bird Sanctuary, South Africa
Canon 1D Mark II N | 600mmf/4 + 1.4tc | 1/4000 sec at f/6.3, ISO 400


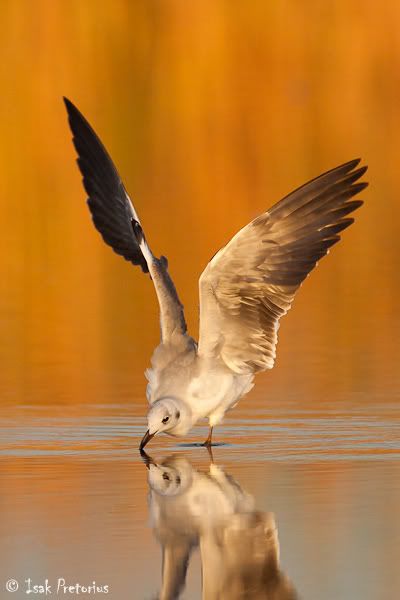
Golden reflection
Marievale Bird Sanctuary, South Africa
Canon 1D Mark II N | 600mmf/4 + 1.4tc | 1/2000 sec at f/6.3, ISO 800


Support

With heavy lenses, good lens support is essential to keep the camera still enough for sharp images or to have a smooth and effortless motion when following moving subjects. Different places require different lens support approaches:

1. Bird Hides – The best solution is to use a tripod. If the hide, seat or opening is too small to accommodate a tripod, then a beanbag with a panning plate will work well.
2. Next to a dam – Tripod
3. From a vehicle – While driving, I use a big beanbag over the door of the vehicle and keep a panning plate attached to my lens. When I see something to photograph, it is essential to waste as little time as possible between stopping and taking my first shots. I found the beanbag and panning to be an excellent solution for this scenario. New designs in door mounts/brackets makes it an attractive option, especially when you stop your car at a place where you’ll be photographing for a while, and have a lot of time available to setup the contraption.


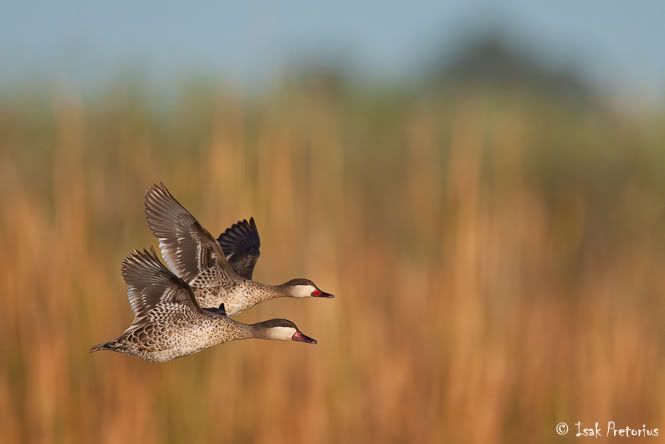
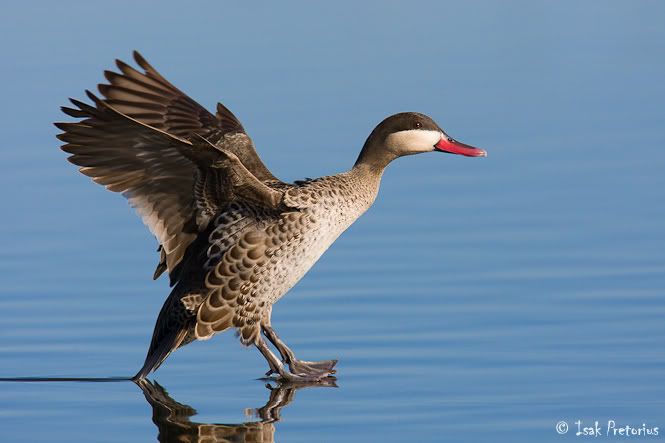
Red-billed teals
Marievale Bird Sanctuary, South Africa
Canon 1D Mark II N | 600mmf/4 + 1.4tc | 1/5000 sec at f/6.3, ISO 640


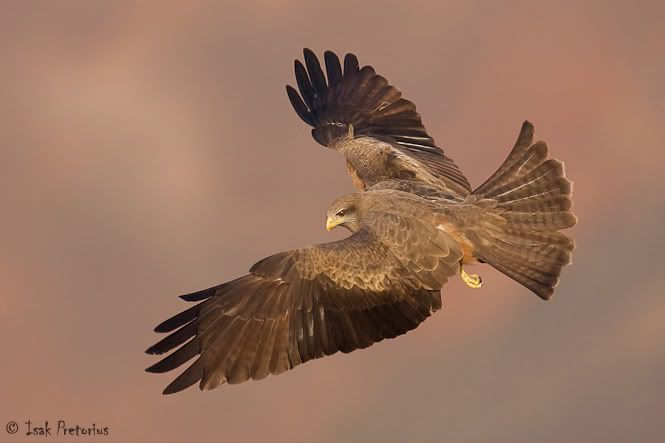
Air brake
Drakensberg, South Africa
Canon 1D Mark II N | 600mmf/4 | 1/2500 sec at f/5.6, ISO 500


Camera settings

Fast moving subjects like birds in flight requires fast shutter speeds to freeze the moment and have a sharp image. I use Aperture Priority mode because I want to control my depth of field, and adjust it in combination with my ISO value to produce the required shutter speed. I usually
photograph small, fast moving birds at about 1/2500th of a second. With larger birds, like vultures, you can still get sharp images with as slow as 1/800th of a second.

Evaluate your scene and adjust the exposure compensation for correct exposure. When the scene is darker than neutral grey you’ll have to underexpose the image, and overexpose it when the scene is very bright. For example, a small bird against a dark background would require about -2/3 exposure compensation, while a bird on a dead branch of a tree against the bright blue sky would require about +2/3 exposure compensation. One of the advantages of digital photography is the ability to view your images on the screen at the back of the camera. I always advise people to check their exposures regularly.

Remember to have your camera on multiple shots mode. This will enable you to take a series of photographs when pressing down the shutter button. It’s impossible to capture that precise moment, where the bird is in the perfect posture with open wings, with a single shot. Rather take a whole series of photographs and pick your favorite from the lot afterwards. Put your camera on AI-Servo mode, to have the camera focus continuously as you press the shutter down half way or full, in effect “tracking” the subject automatically.

The last tip on settings is to have only one autofocus point active, the center one. It is the most sensitive one, and with only one autofocus point active, the camera has to do fewer calculations to determine focus. It allows for faster and more accurate focusing.


Shoveler take-off
Marievale Bird Sanctuary, South Africa
Canon 1D Mark II N | 600mmf/4 | 1/2500 sec at f/8, ISO 500


Frozen
Marievale Bird Sanctuary, South Africa
Canon 1D Mark III | 600mmf/4 + 1.4tc | 1/2500 sec at f/8, ISO 800


Technique

To photograph birds in flight with regular success requires practice. It involves seeing the bird, pointing the lens at the bird while starting to move the lens at the same speed and in the same direction as what the bird is flying, pressing the shutter half way down to get focus on the bird while still panning the lens with the subject, and then continuing with this movement while pressing the shutter all the way down and taking a series of photos. You have to teach your brain the hand-to-eye coordination required to be able to see a bird flying across the sky and then point the lens straight at it. Find out where a local heronry, or any place where you can get close to a lot of flying birds is, and practice this technique.


Achtung!
Bonaero Park, South Africa
Canon 1D Mark III | 600mmf/4 | 1/1250 sec at f/8, ISO 1000


Hanging in the air
Kruger National Park, South Africa
Canon 1D Mark III | 600mmf/4 + 1.4tc | 1/50 sec at f/7.1, ISO 200


Composition

It is almost impossible to compose a photograph while following a flying bird through your viewfinder, especially when you have the center autofocus point active and locked onto the subject. Rather crop the photo afterwards for a start, before trying to move autofocus points while tracking a bird through the viewfinder.

With stationary subjects, composition is especially important to create a striking photograph. Use the rules of art as a guideline to compose your image. For example, place a subject on one of the intersecting “3rd” lines while giving it space to look into. Also think about including shapes and textures and make use of leading lines.

Be selective when picking a background for your bird portraits and birds in flight photos. A naturally toned background creates much more striking photographs than the blue and especially white skies. Try and look for a tree, dune, or bush in the background. Move your vehicle or tripod until the desired background in exactly behind your subject. This incidentally makes autofocus more challenging. If the autofocus point is not precisely on the subject, the focus might easily “jump” to the background and it will be difficult to regain focus on the subject.


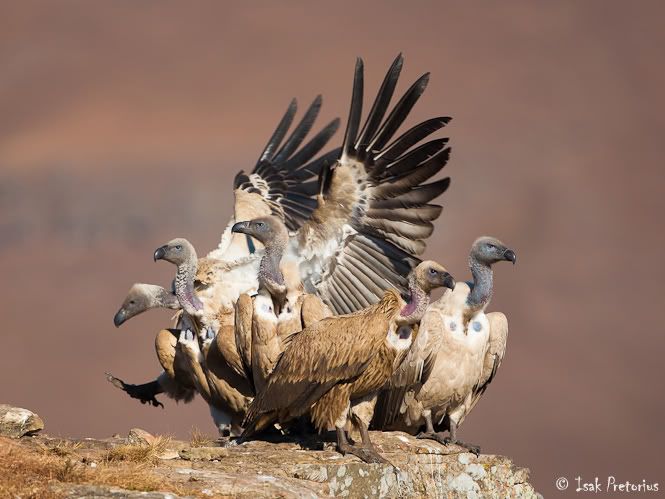
Vulture family
Drakensberg, South Africa
Canon 1D Mark III | 500mmf/4 | 1/2000 sec at f/4.5, ISO 125


Catching breakfast
Botswana, South Africa
Canon 1D Mark III | 600mmf/4 | 1/2000 sec at f/5, ISO 800


I hope these words of advice will help you in your pursuit to take better bird photographs!

Thursday, April 1, 2010

OKAVANGO MAGIC

When you go to a place where there are abundant wildlife, water and sunshine mixed together, you are guaranteed to see something spectacular! The Okavango Delta is such a place, a pure wilderness and probably the most exciting game viewing destination in Southern Africa.


The silent hunter
Okavango Delta, Botswana
Canon 5D Mark II | 70-200mmf/2.8 | 1/1250 sec at f/5.6, ISO 400


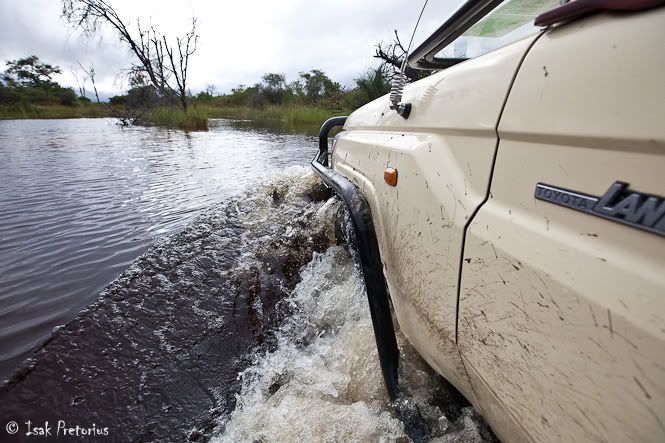
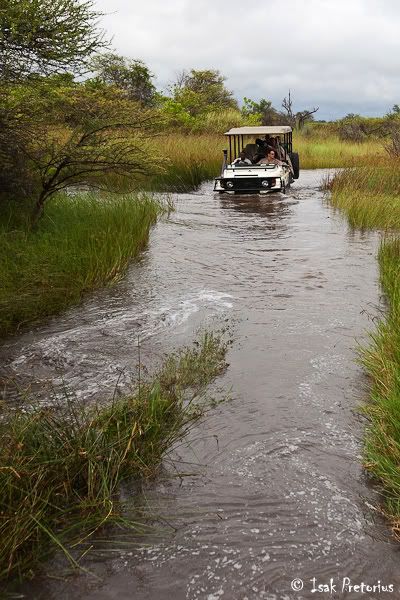
C4 Images and Safaris have just concluded a very memorable photographic safari to the Okavango Delta at Stanley's Camp. The camp is situated in the heart of the swamps just below the South Eastern tip of Chiefs Island. They've had extremely good rainfall in the Okavango Delta during January and February. This resulted in unusually high levels of water on the floodplains for this time of the year. The water level was almost as high as when the flood waters push in from the Okavango river during July and August. This meant that we were in for an interesting time ahead! Just as at Chiefs Camp, Stanley's Camp uses game viewing vehicles specifically modified with bigger wheels and raised suspensions to negotiate the swampy terrain effortlessly. I've never seen so much water around and having water rush over the bonnet and over the floor of the vehicle provided an additional thrill for everyone!


Delta roads
Okavango Delta, Botswana
Canon 5D Mark II | 16-35mmf/2.8 | 1/3200 sec at f/5.6, ISO 800


Swampy roads
Okavango Delta, Botswana
Canon 5D Mark II | 16-35mmf/2.8 | 1/2000 sec at f/5.6, ISO 800


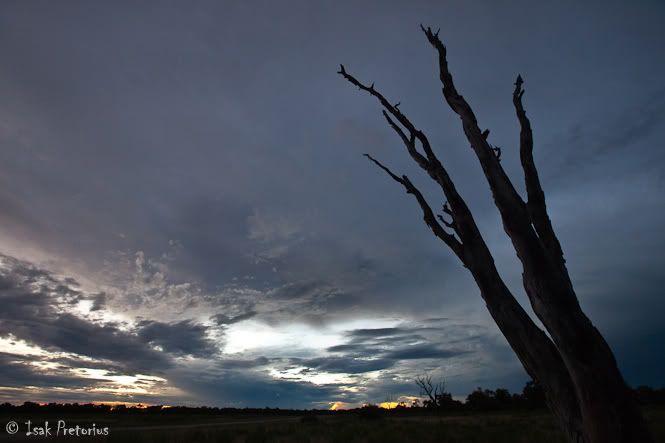
The safari was led by Greg du Toit and myself. Drizzling and overcast weather on the first two days meant that we had a slow start to the safari. Luckily we were all serious photographers and this could not damped our spirits. In fact, we were excited to use the elements to our advantage, searching for unique photo opportunities of impala and wildebeest in the rain! We also enjoyed the dramatic skies for which the Okavango Delta is famous. On our second drive, a great sighting of a leopard that entertained us for an entire morning got the shutters working properly.


Cloudy skies
Okavango Delta, Botswana
Canon 5D Mark II | 16-35mmf/2.8 | 1/30 sec at f/8, ISO 1000


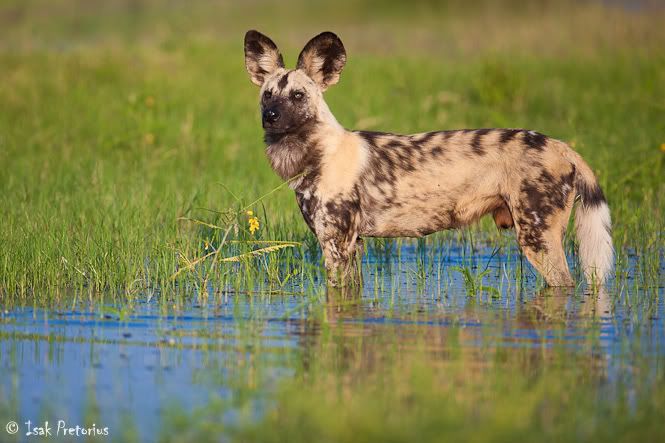
Wild dog in the water
Okavango Delta, Botswana
Canon 5D Mark II | 600mmf/4 | 1/1600 sec at f/4, ISO 200


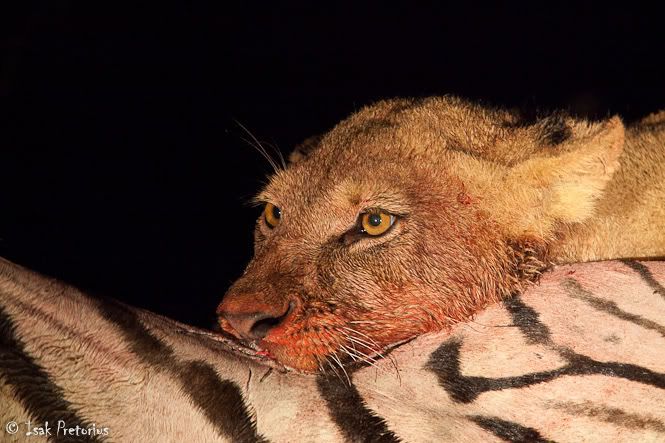
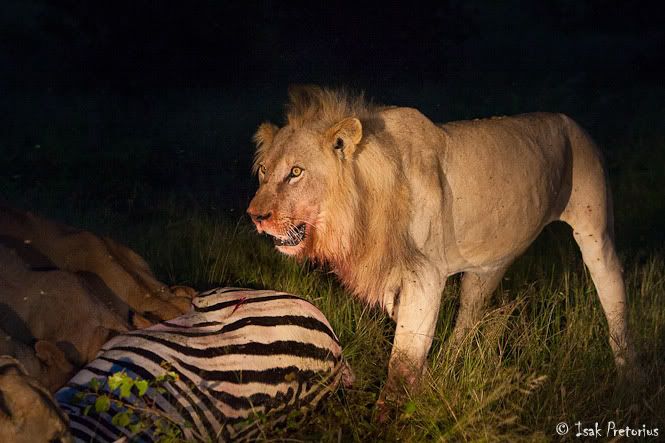
The next few games drives delivered sightings of elephant, buffalo, giraffe, and letchwe before we were treated to a once-in-a-lifetime sighting of a lion kill. We witnessed a pride of six lions killing a young zebra thanks to Greg du Toit who made the call to stick it out for an afternoon with the lions, watching them sleep, waking up, stalking, ambushing, and finally devouring. A complete cycle rarely seen, and of course stunning photographs by everyone! Oúr vehicle, on the other hand, stumbled onto a few wild dogs staking a herd of impala on our way to the lions. "Spoilt for choice" got a new meaning as we had to choose between following wild dogs on the hunt or lions stalking zebra. We decided to follow the wild dogs for a while but when the call came over the radio that the lions had killed a zebra we quickly rushed to witness the action.


Feeding time
Okavango Delta, Botswana
Canon 5D Mark II | 300mmf/4 + 1.4tc | 1/125 sec at f/5.6, ISO 1600


King of the meal
Okavango Delta, Botswana
Canon 1D Mark III | 70-200mmf/2.8 | 1/200 sec at f/4, ISO 1600


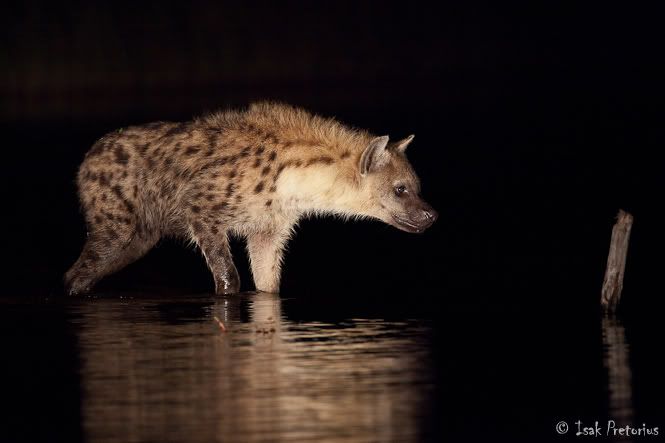
Another memorable sighting we had on our way back to camp one evening was of a spotted hyena walking in the road and in the swampy water looking for a meal. With the dark water at night and subject illuminated only by the spotlight, this made for some dramatic images. During our final game drive of the safari we were luckily to find a big male leopard crossing one of the water channels. I was interesting to see how he very slowly and carefully made his way through the water trying not to make a sound! This is a sight that you'd only find in the Okavango Delta and it ended our safari on a high.


Fishing
Okavango Delta, Botswana
Canon 5D Mark II | 600mmf/4 | 1/80 sec at f/4, ISO 2000


Juvenile red-billed oxpecker
Okavango Delta, Botswana
Canon 1D Mark III | 600mmf/4 + 1.4tc | 1/2500 sec at f/8, ISO 800


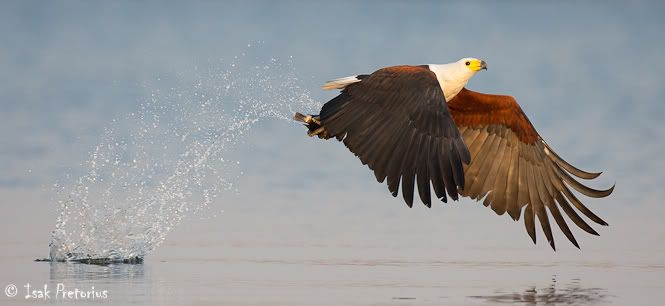
The Okavango Delta is of course also a bird paradise. With most of our guests being keen bird photographers it meant that everyone were in their element! Fish Eagles around every corner, Grey-headed and Striped Kingfisher, Saddle-billed Storks, Wattled Cranes and Dwarf Bittern were a few of the species that got us really excited.


Wattled cranes
Okavango Delta, Botswana
Canon 1D Mark III | 300mmf/4 + 1.4tc | 1/1000 sec at f/7.1, ISO 1250


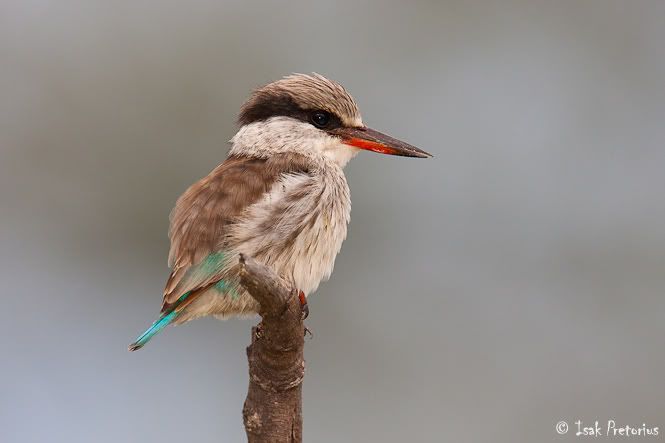
Striped kingfisher
Okavango Delta, Botswana
Canon 1D Mark III | 600mmf/4 + 1.4tc | 1/500 sec at f/8, ISO 1600


When hosting a photographic safari it is important to go to a camp that can take care of our clients, making them feel at home and relaxed after a hard day of photography out in the African bush. Stanley's Camp is exactly such a camp! It is a very intimate camp gathered around a large sitting and dining area which offers great views over the Okavango Delta floodplains and one of the best camps I've ever been to. Apart from the filter coffee wake-up call, the friendly staff and exquisite food prepared by chef Harry is what made the camp extra special. The camp also offers an elephant interaction experience, mokoro excursions, and guided walks if you want to try something different.


Looking up
Okavango Delta, Botswana
Canon 5D Mark II | 300mmf/4 | 1/800 sec at f/4, ISO 200


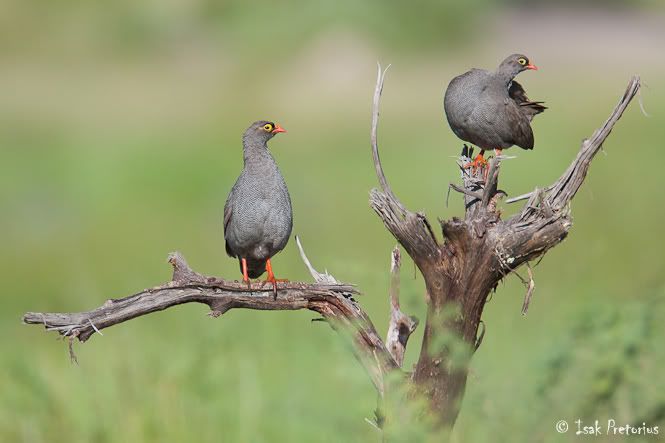
Red-billed spurfowl
Okavango Delta, Botswana
Canon 1D Mark III | 600mmf/4 + 1.4tc | 1/2000 sec at f/5.6, ISO 400


Unfortunately all good things had to come to an end. We were sad to leave but enjoyed the last breath-taking views from the Okavango Delta as we flew back from the camp to Maun where we all went our separate ways. A big thanks to Evelyn, Harry, Jonathan, Carter, and the rest of the staff at Stanley's camp for making it a trip of a lifetime!


Leopard prints
Okavango Delta, Botswana
Canon 5D Mark II | 70-200mmf/2.8 | 1/320 sec at f/8, ISO 800


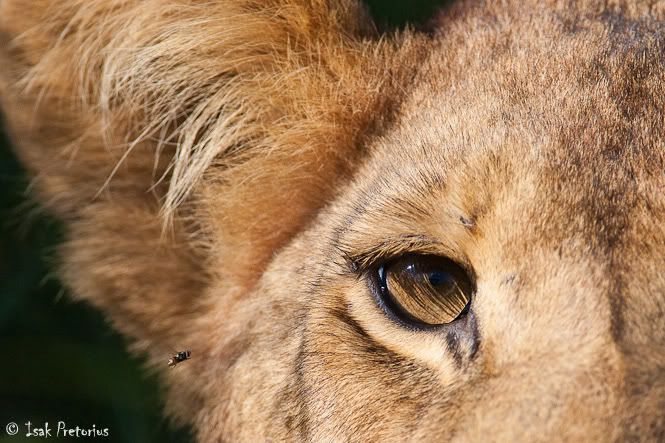
Lion eye
Okavango Delta, Botswana
Canon 1D Mark III | 600mmf/4 + 1.4tc | 1/2500 sec at f/8, ISO 800

Tuesday, December 1, 2009

THE CHIEF'S ISLAND EXPERIENCE

Chief’s Island in the heart of the Okavango Delta is known as the predator capital of Africa. C4 Images and Safaris has just concluded its first of many safaris to the island and the place had more than lived up to its reputation and everyone’s expectation. We met our guests at O.R. Tambo International from where it’s a two hour flight to Maun and then a 20 minute flight into camp. Flying low over the Delta is always thrilling with spectacular views of this unique waterway system alive with large herds of elephants, buffalo, giraffe, and zebra which are easy to spot from the plane. This got the safari off to an exciting start.


King of beasts
Okavango Delta, Botswana
Canon 5D Mark II | 600mmf/4 | 1/400 sec at f/8, ISO 2000


We were looking forward to sunny weather and good photography. Chief’s Camp is located on Chief’s Island on the edge of a large floodplain hidden away between beautiful Jackalberry and Sausage tree woodland. The lounge, dining room, bar and pool are situated on a large wooden deck overlooking the floodplain and became our general meeting area for the next few days doing everything from our afternoon photo workshops, eating, relaxing and talking photography while watching nature unfold in front of us. Growing up amongst the animals in the surrounding areas, our guides Ali and Ishmael were masters of predicting animal behaviour and locating our photographic subjects. They had obviously dealt with many photographers before and knew exactly how to position the vehicle for us to get the perfect shot. Chief’s Camp is also different from anything we’ve experienced before in that they’ve modified their vehicles for driving through water. A lifted suspension and snorkel did the trick but occasionally we had to lift our camera bags and feet off the floor during the deeper crossings. Twice during the safari we had water over the floor of the vehicle that drained away quickly once we got through. Apart from the thrilling sightings this added some additional exhilaration.


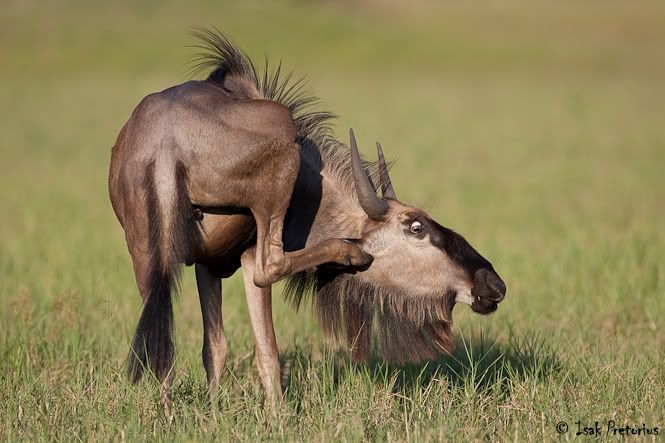
The itch
Okavango Delta, Botswana
Canon 5D Mark II | 600mmf/4 | 1/500 sec at f/5, ISO 100


Wildebeest
Okavango Delta, Botswana
Canon 5D Mark II | 600mmf/4 | 1/80 sec at f/8, ISO 2000


The game drives took us onto both the floodplains as well as the higher dry areas of Chief’s Island itself. It provided typical Okavango Delta scenery of wide open plains with grazing herds of animals and islands of woodland vegetation and palm trees. Game viewing and photography were excellent with numerous sightings of lion, leopard, huge herds of buffalo, elephant, lechwe and the other general game like zebra, wildebeest and giraffe to name but a few. The Delta is of course also a bird paradise that provided us with terrific photographic opportunities of many “specials” like wattled crane and slaty egrets. The water level on the floodplains was dropping quickly, leaving behind numerous pools with trapped fish. We came across a number of pools with hundreds of yellow-billed storks, marabou storks, hamerkop, and egrets all trying to make the most of the fish’s misfortune. One afternoon we did the makoro experience where you get close encounters with birds and some of the Delta’s smaller subject while gliding quietly over the water.


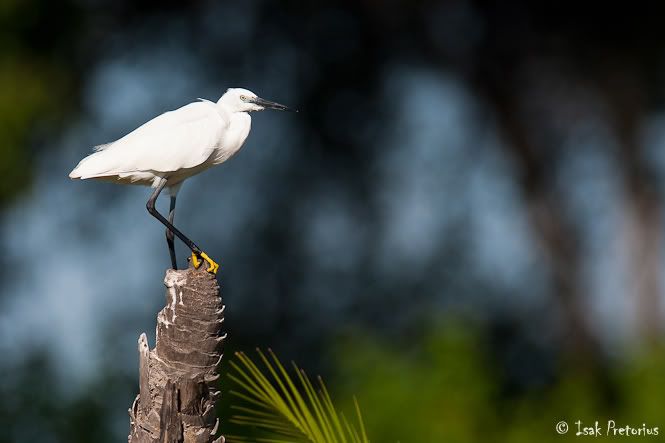
Little egret
Okavango Delta, Botswana
Canon 1D Mark III | 600mmf/4 | 1/2500 sec at f/7.1, ISO 400


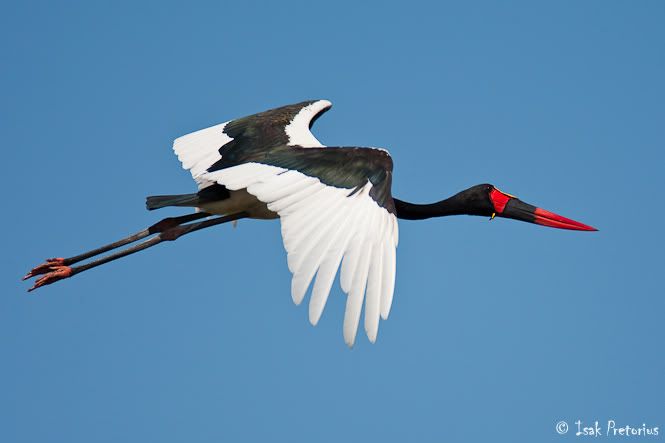
Saddle-billed stork in flight
Okavango Delta, Botswana
Canon 1D Mark III | 600mmf/4 + 1.4tc | 1/2000 sec at f/5.6, ISO 200


Each day usually starts with a wakeup call from staff who also brought us coffee in bed. This is followed by a light breakfast, morning drive and early lunch after which there were time for relaxation. The afternoons were spent doing the photography workshops that included lectures on light, composition, technique, digital workflow and processing. Afternoon tea and game drive followed, after which we had time for relaxing drinks and dinner.


Leopard kill
Okavango Delta, Botswana
Canon 1D Mark III | 70-200mmf/2.8 | 1/125 sec at f/5.6, ISO 800


This safari would definitely be remembered for a spectacular late afternoon fast moving thunderstorm on our last afternoon drive, and a sighting where a black-backed jackal had killed a baby impala. As a natural history sighting this was very special, though gruesome at times. It was an opportunistic kill by the jackal of a few day old impala amongst a large herd of impala. I will also never forget the water crossings that we did with the game viewing vehicles. In areas better suited for makoros than vehicles we made our way through the water en route to the sightings. In one particular incident, our guide Ishmael were driving over a dry area of the floodplain when he spotted some lions in the distance. At that specific place we had a deep water filled deception between us and the lions and it would have taken us too long to drive around and through the water at the shallower regular crossing on the other end to get to the lions. Ishmael asked me if I think we should attempt to drive to the lions straight from there through the deep water. Not knowing what difference my opinion would make anyway, I think I was more curious than anything else to see how his attempt would unfold. I told Ishmael to go for it. Amazingly with water high over the bonnet of the vehicle and tyres gripping slowly but surely at the sandy bottom, we made it through and were rewarded with great photography of the lions and then lechwe running through the water.


Rulers of the land
Okavango Delta, Botswana
Canon 1D Mark III | 70-200mmf/2.8 + 1.4tc | 1/500 sec at f/8, ISO 400


Chief’s Camp delivered the magic of the Okavango Delta in many ways. During our last evening we showed a presentation of the top images from the safari from every guest. It was wonderful to see everyone’s own interpretation of the last few days and how the different photographic techniques we taught got put into practice with great success. It was sad to leave the island and although the flight back to Maun over the Delta was something to look forward to, it was of little comfort. We all wanted to visit Chief’s Island again soon!


A giant of the Okavango Delta
Okavango Delta, Botswana
Canon 1D Mark III | 70-200mmf/2.8 | 1/320 sec at f/8, ISO 100


Last light on the marshes
Okavango Delta, Botswana
Canon 1D Mark III | 70-200mmf/2.8 | 1/30 sec at f/11, ISO 100


Thanks Charl, Semma and the rest of the staff for making this a trip of a lifetime.


Sunset over the Okavango Delta
Okavango Delta, Botswana
Canon 1D Mark III | 16-35mmf/2.8 | 1/50 sec at f/8, ISO 800


Day's end
Okavango Delta, Botswana
Canon 5D Mark II | 16-35mmf/2.8 | 1/400 sec at f/8, ISO 400

Sunday, November 1, 2009

FROZEN

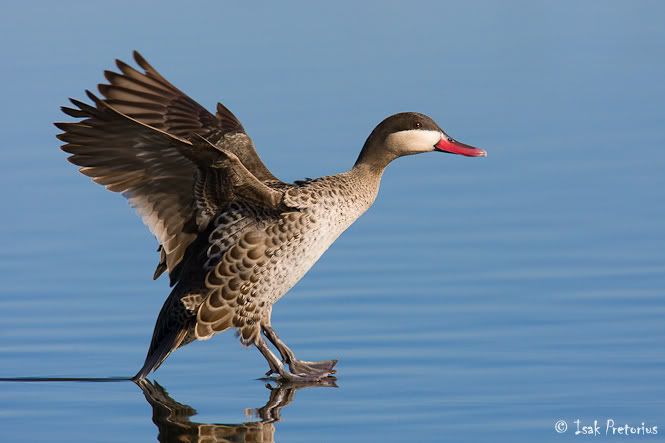
With fast moving subjects like birds in flight, you need fast shutter speeds of around 1/2000 of a second to capture the subject sharp and freeze the moment. I do this either with manual settings or on aperture priority. I pick my aperture value according to the depth of field that I require and then adjust my ISO value until it renders the desired shutter speed. I used this train of thought when photographing this red-billed teal. I followed the bird through my viewfinder as it was coming in to land, and as it dropped below the horizon I started pressing the shutter. Afterwards I was pleasantly surprised to see that I had captured a frame at the exactly moment where he had touched down onto the water, right before any ripples were visible in the water.


Frozen
Marievale Bird Sanctuary, South Africa
Canon 1D Mark III | 600mmf/4 + 1.4tc | 1/2500sec at f/8, ISO 800


This photograph was one of six I was fortunate enough to get placed as highly commended in the 2009 Fuji Getaway Wildlife Awards.